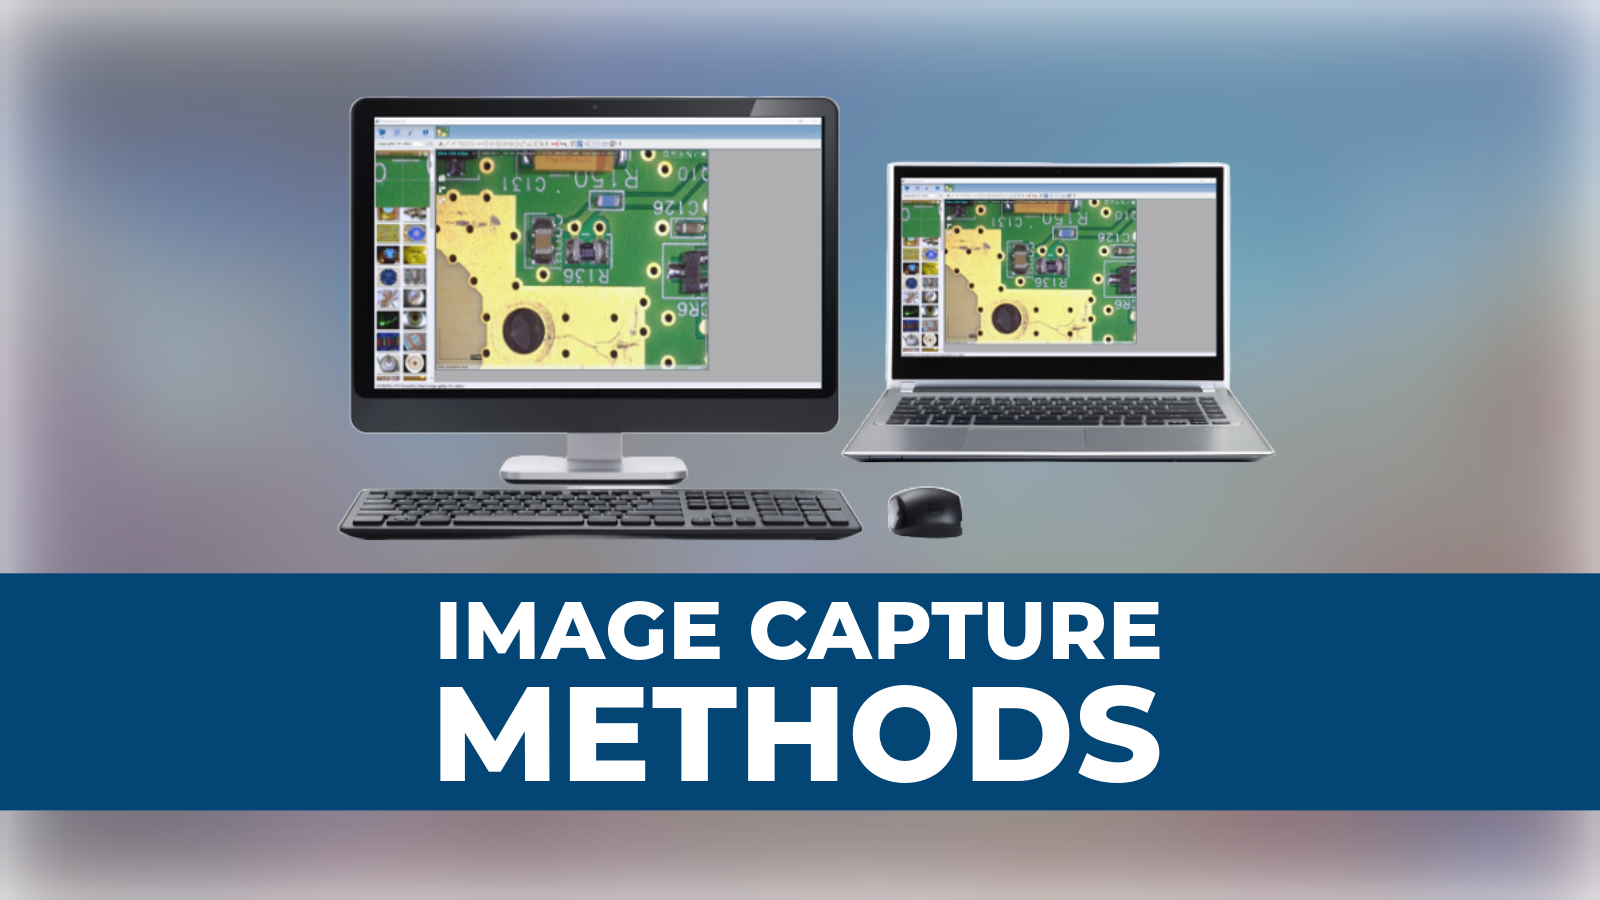
Looking at a specimen can sometimes require multiple magnification levels, and sometimes even multiple cameras.
Whether you are looking at your sample for inspection, cataloging, or for fun, consider looking at your sample in different ways! Experiment with different angles and lighting. With a digital microscope, you can also experiment with different magnification levels.
Step 1: Macro Photography
Use a digital camera to take a picture of the entire object.
If you want to avoid a digital camera, some Dino-Lite models (like the AM7115MZTT) can take images at 10x or less.

Fig. 11. Grassy Mountain silicified hardwood limb cut at an angle to a true cross-section taken in sunlight with Canon PowerShot SD770 IS Digital ELPH 10.0 Mega Pixels, cropped and resized in Adobe Photoshop CS6. Polished surface is 6cm in diameter. (Photo by Mike Viney.)
Step 2: Inspection at Different Magnification Levels
Use your digital microscope at a higher magnification to look for details or places of interest.
Before you move your sample, play with different magnification and working distances. For example, take a picture of the same spot at 10x, 20x, 50x, and 200x. Remember to label your images as you go in the annotation section.
Remember to change your magnification level in your images every time you change height and magnification.
If you have AMR, you can skip this step since the Dino-Lite checks magnification automatically.
With your magnification recorded, you can perform your measurements now or at a later time.
1_Grassy Mountain silicified Miocene-age hardwood tree from the Grassy Mountain area in Malheur County, Oregon, USA. Image taken at 20o to cross-section magnified at 100x taken with a Dino-Lite AD7013 MT 5.0 MP. Images were resized in Adobe Photoshop CS6, Mike Viney photo.

Step 3: Move Back to a Lower Magnification
As Mike Viney suggests, “Once the microscopic images are taken, it is time to move back…”
Use the digital camera to take another macro image.
If you have a digital microscope with 1x magnification, move it to the proper working distance and take another image at 1x.
From here, you can move your sample and repeat steps 1-3.
Fig. 12. Close-up of Grassy Mountain hardwood limb showing the first few annual rings surrounding the pith taken in sunlight with Cannon PowerShot SD770 IS Digital ELPH 10.0 Mega Pixels, cropped and resized in Adobe Photoshop CS6. Field of view is 3.3cm in wide. (Photo by Mike Viney.)

Step 4: Arrange Images
Label and arrange your images so that your macro and micro images are in order. It helps the eye keep track if you are trying to image and inspect a particular area of the sample.

Fig. 14. Dino-Lite MS36B rigid table top boom stand used to secure the Dino-Lite AD7013 MT 5.0 MP. (Photo by Mike Viney.)
A very big thank you to Mike Viney for sharing these images of petrified wood with us and steps on taking macro and micro images! Read more about his work here:
Viney, Mike. (2018). Images of Cells Preserved in Stone. Deposits. 8-13.
https://www.researchgate.net/publication/323588136_Images_of_Cells_Preserved_in_Stone