


Problema
No se puede instalar un Dino-Lite Classic, Dino-Lite Plus o Dino-Lite Pro más antiguo (modelo 211, 311(S)(H), 313) en una computadora con Windows 8, 10, 11 o superior.
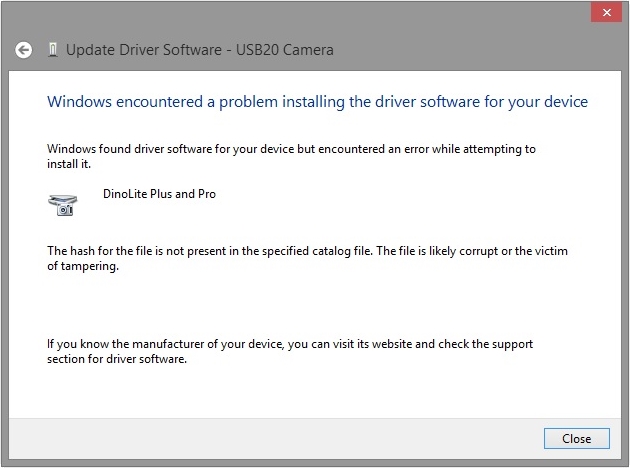
Windows encontró el software del controlador para su dispositivo, pero encontró un error al intentar instalarlo.
Dino-Lite Plus y Pro
El hash del archivo no está presente en el archivo de catálogo especificado. Es probable que el archivo esté dañado o sea víctima de manipulación.
Si conoce el fabricante de su dispositivo, puede visitar su sitio web y consultar la sección de soporte para el software del controlador.
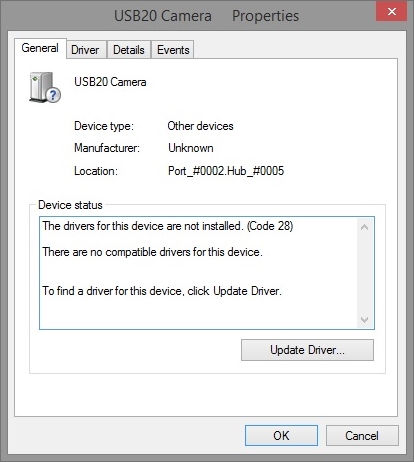
No hay controladores compatibles para este dispositivo.
Para encontrar un controlador para este dispositivo, haga clic en Actualizar controlador.
Solución
De manera predeterminada, Windows 8, 10 y 11 requieren que todos los controladores de dispositivos tengan una firma digital. Algunos modelos de Dino-Lite como AM211, AM311(S)(H), AM313, AM411 y AM413 son más antiguos que Windows 8 y no tienen una firma digital. Para instalar estos modelos en Windows 8 o superior, se debe desactivar temporalmente el requisito de que los controladores tengan una firma digital.
Nota: La solución a este problema consiste en reiniciar la computadora. Antes de comenzar, sugerimos guardar y cerrar cualquier otro trabajo en la computadora. También puede abrir estas instrucciones en un dispositivo diferente o imprimirlas.
| Instrucción | Captura de pantalla |
|---|---|
1. Windows 8: mantenga presionada (Tecla de Windows) + I para abrir el panel de configuración, luego haga clic en Cambiar los ajustes del PC.1. Windows 10: mantenga presionada (Tecla de Windows) + I para abrir la ventana de configuración, luego seleccione Actualización y seguridad | 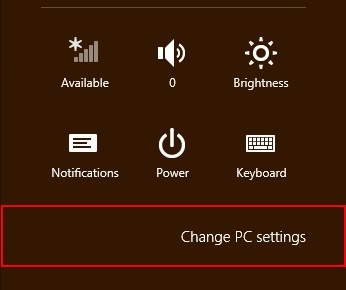 Windows 8 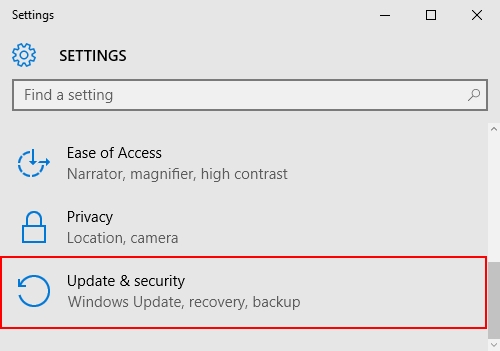 Windows 10 |
| 2. Windows 8: Seleccione la Actualización y recuperación opción del menú. Windows 10: Seleccione Recuperación |  Windows 8 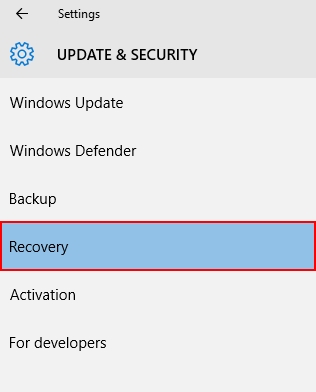 Windows 10 |
| 3. Solo Windows 8: Seleccione Recuperación |  |
4. Bajo Inicio avanzado Seleccione Reiniciar ahora | 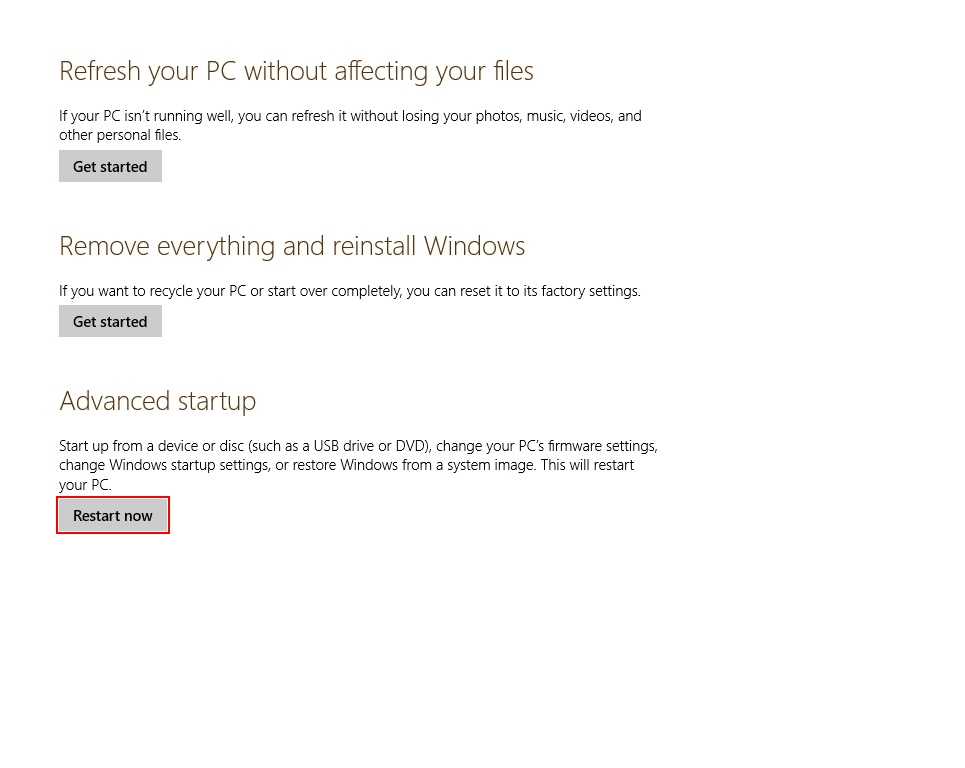 |
| 5. La computadora se reiniciará en una pantalla de menú azul. Seleccione Troubleshoot | 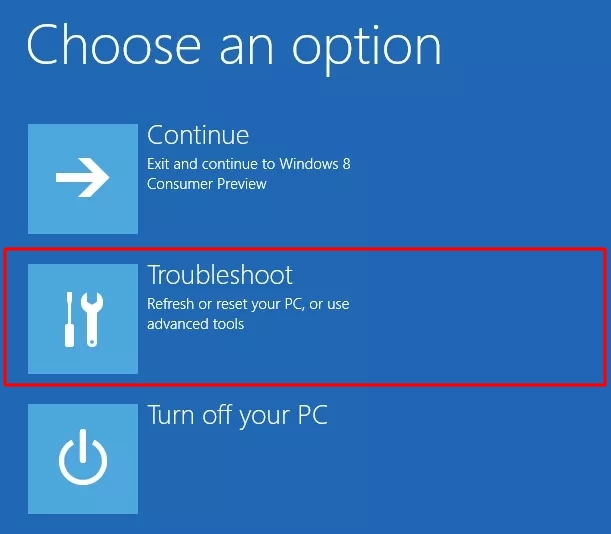 |
| 6. Select Advanced options | 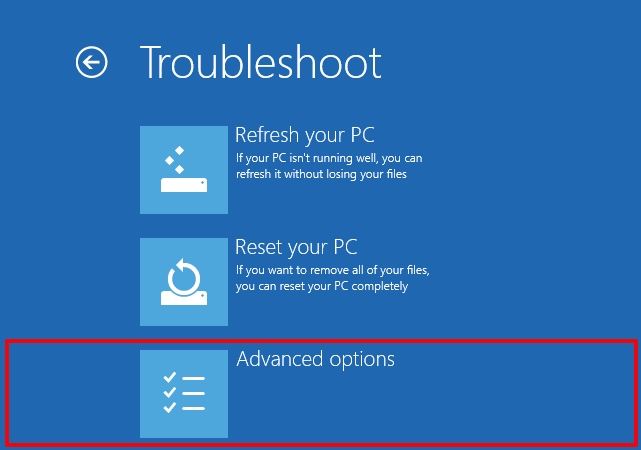 |
7. On the advanced options menu, select Startup SettingsNota: Some users may see a notice requesting a bitlocker recovery key, you must find your key and enter it to proceed. If provided by Microsoft it will likely be located on: https://onedrive.live.com/recoverykey | 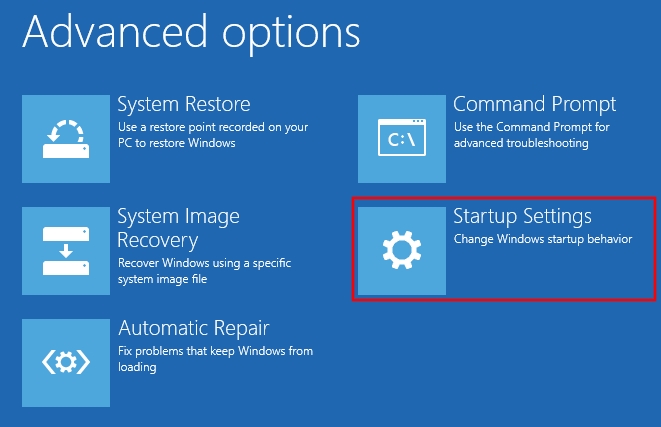 |
8. Before advancing further, please be aware that the next step (step 9) has a short time limit to select an option, otherwise Windows will boot up normally without the necessary change. Take a look at the directions for step 9 before advancing to be sure you can select the necessary option within the time limit. To advance to the next step, select Restart. | 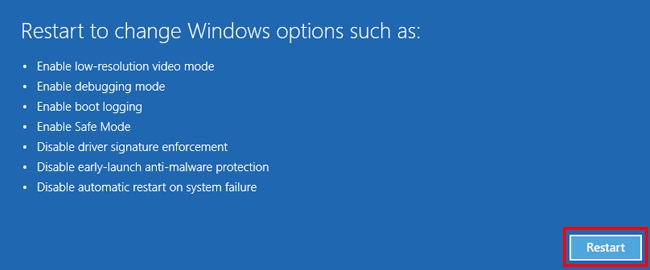 |
9. On the Startup Settings menu, press the 7 o F7 key on your keyboard to select the option 7) Disable driver signature enforcement |  |
10. After selecting the option 7) Disable driver signature enforcement, Windows will boot back up and driver signature enforcement will be temporarily disabled. If you did not select that option in the previous step, start again from step 1 or the following steps will not succeed. | |
| 11. Disconnect the Dino-Lite if it is currently connected. Browse to https://www.dinolite.us/downloads and download the driver matching your Dino-Lite model. After the download is complete, install the driver. | |
12. If you see a warning message asking Do you want to completely remove the selected application and all of its features?, this indicates that you already tried to install the driver before driver signature enforcement was disabled. In this case, select Sí to remove the driver and wait for the process to finish, then open the driver installer once more to reinstall the driver now that driver signature enforcement has been disabled. After the driver has been reinstalled, reconnect the Dino-Lite to USB. | 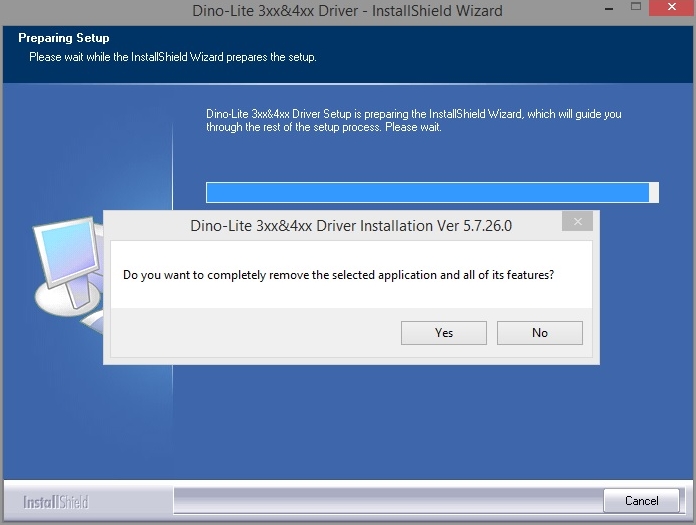 |
| 13. While installing the driver, or when plugging the device in after installing the driver, you will see a warning message stating Windows can't verify the publisher of this driver software. Select Install this driver software anyway | 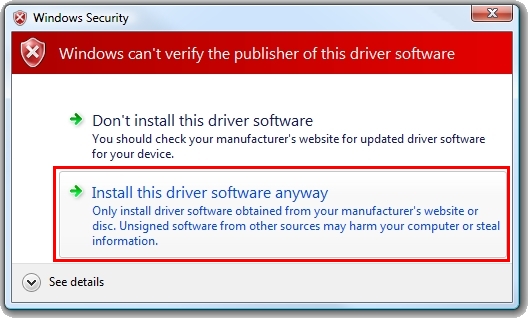 |
14. Press (Tecla de Windows) + X to open the Quick Access Menu, and select Device Manager from the menu. | 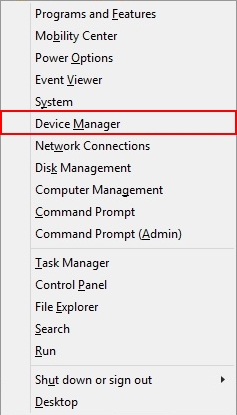 |
| 15. If the Dino-Lite appears in the device manager under Imaging Devices and there is no error sign, the process is complete and you can now use the Dino-Lite. | 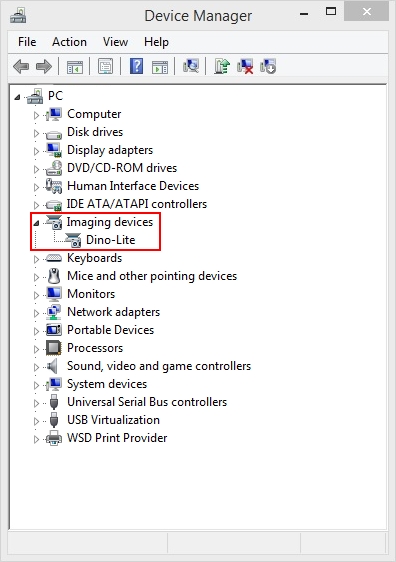 |
16. If Dino-Lite appears in the device manager under Other Devices and/or it appears with an error sign or the wrong name (e.g. ‘USB20 Camera’ instead of ‘Dino-Lite’), continue with the following steps. | 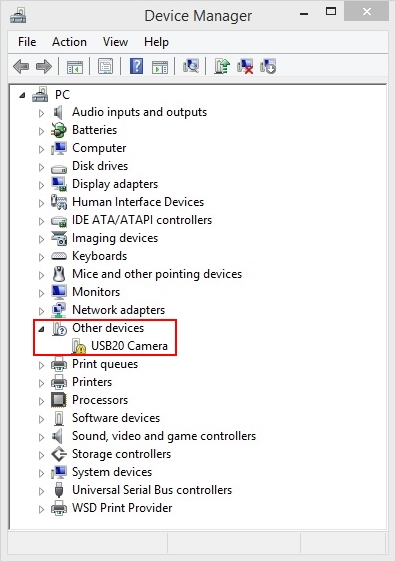 |
| 17. Right-click on the Dino-Lite device entry in device manager and select Update Driver Software.. | 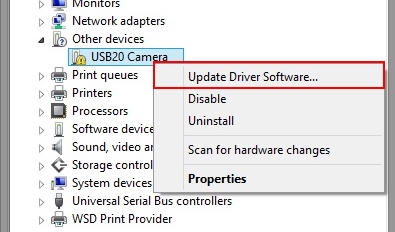 |
18. Select Browse my computer for driver software | 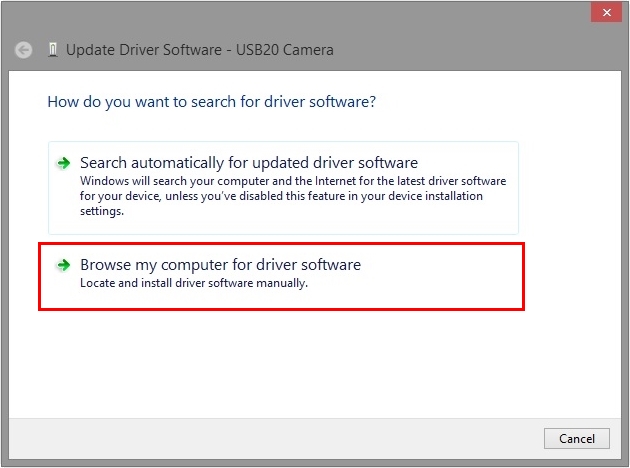 |
19. Select Browse.. | 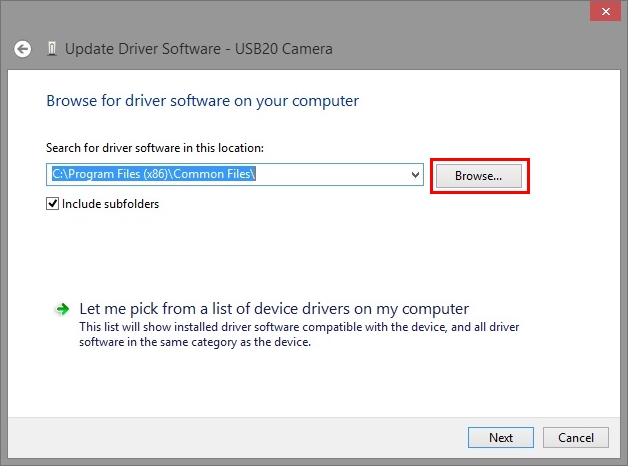 |
| 20. Browse to the correct location of the driver files. For Dino-Lite AM311(S)(H), AM313, AM411, or AM413 models, select C:\Program Files (x86)\Common Files\snp2std For Dino-Lite AM211, select C:\Program Files (x86)\Common Files\snpstd3 | |
21. After selecting the correct location, click OK and then click Próximo | 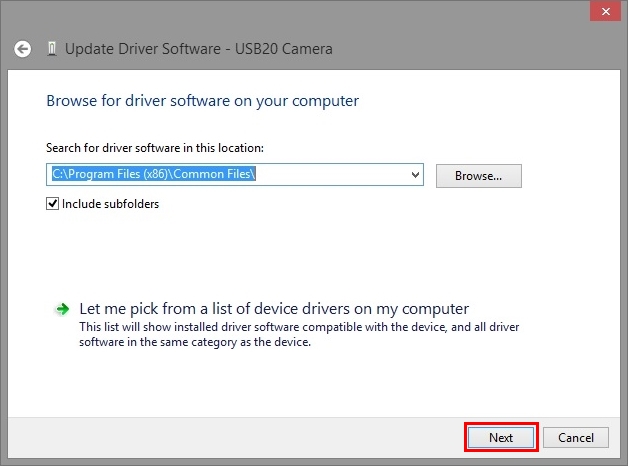 |
| 22. The driver will now install and you should be able to use the Dino-Lite successfully. If you still receive an error message or are unable to use the Dino-Lite, Contáctenos para el apoyo. |  |
