


This article is related to RealVNC, the remote support software tool that our team uses to provide remote assistance to our customers.
Starting with macOS Mojave (10.14) and macOS Catalina (10.15), you must give the Screen Recording and Accessibility permissions to VNC Connect. If you do not grant these permissions you will see a blank screen in VNC Viewer and/or have view-only access.
Please follow the steps below to set up VNC Connect for macOS correctly. These steps must be done locally on the remote computer itself, they cannot be done remotely or via the command line
Device Access
Screen Recording (fixes black screen)
macOS Ventura (13) and later
- Open System Settings:

- Click Privacy & Security:

- Click Screen Recording:

- Click the lock button to make changes, and then enter an administrator’s username and password:


- If vncagent is listed, enable it and click the lock icon again:

macOS Monterey (12) and earlier
- Open System Perferences:

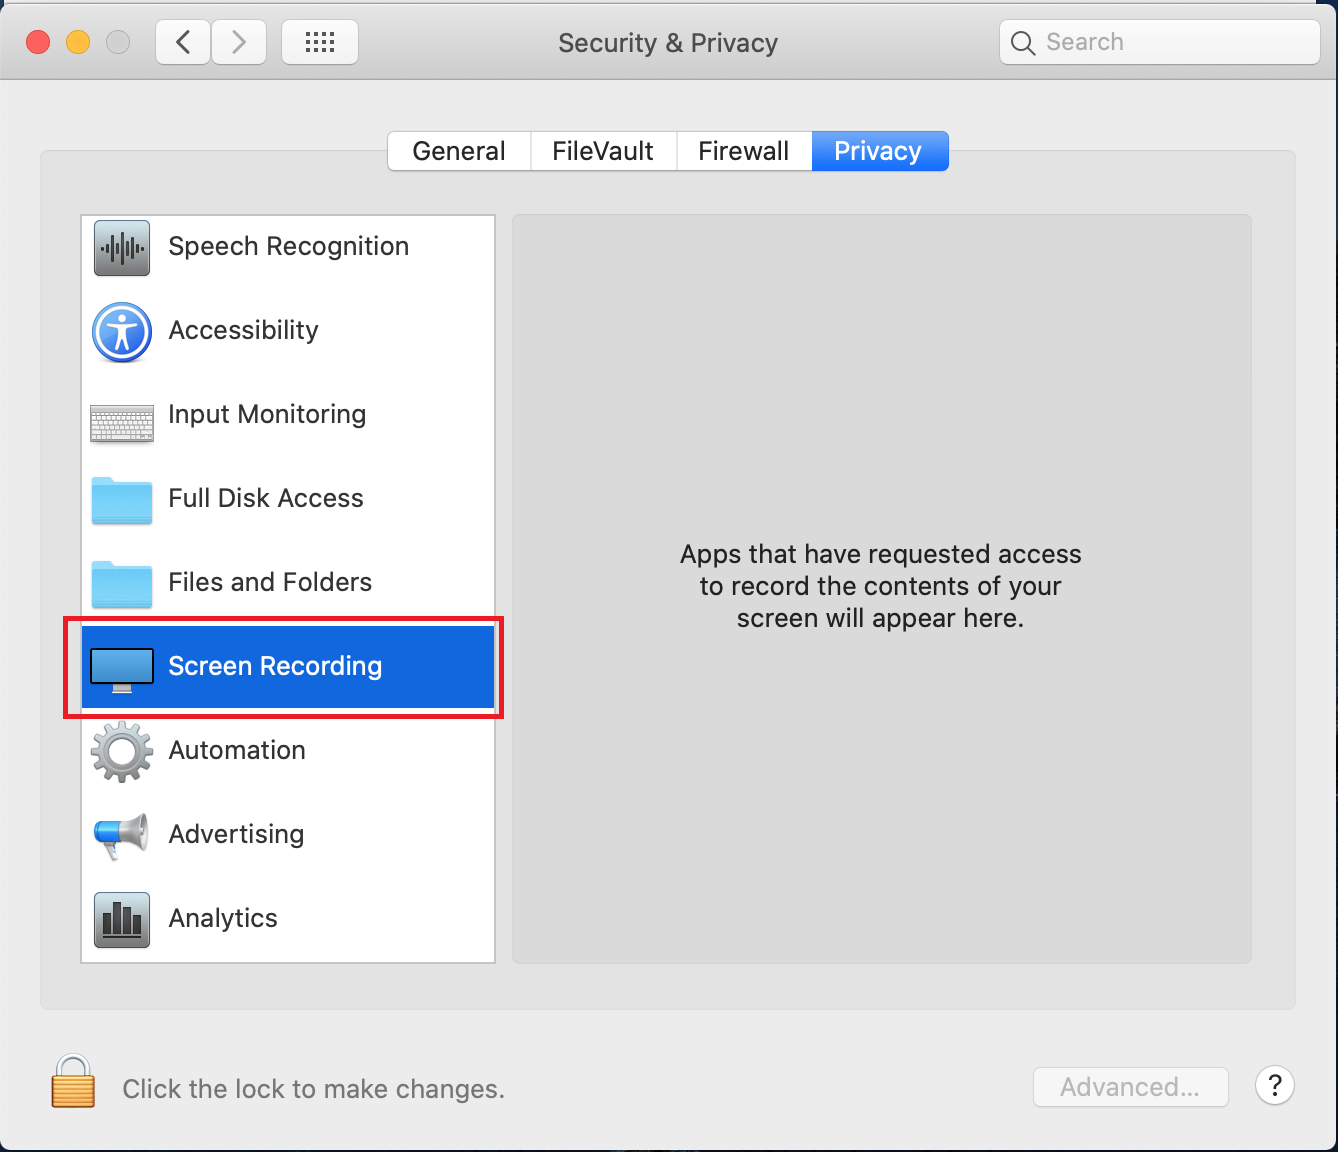
- Click Security & Privacy:

- Click Privacy:

- Click Screen Recording:

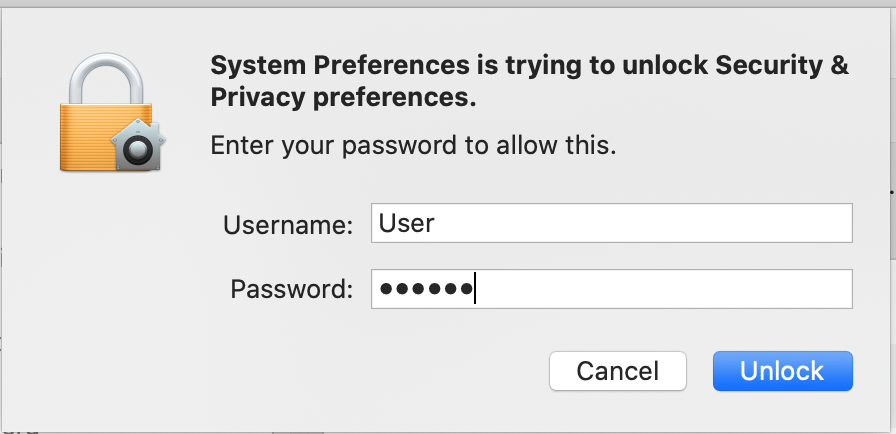
- Click the lock button to make changes, and then enter an administrator’s username and password:

- If vncagent is listed, place a check/tick next to it, and then click the lock icon again:

Accessibility (fixes view-only)
macOS Ventura (13) and later
- Open System Settings:
- Click Privacy & Security:
- Click Accessibility:
- Click the lock button to make changes, and then enter an administrator’s username and password:

- If vncagent is listed, enable it and then click the lock icon again:
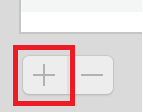
Skip Step 6. - Otherwise, click the + button:
then navigate to/Library/vnc/vncagentand select the Open button: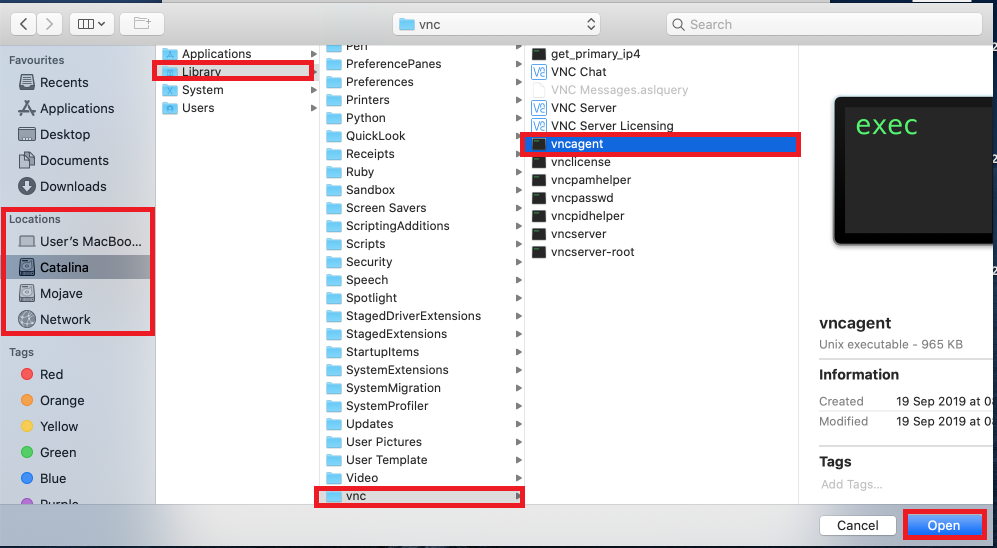
and then click the lock icon again.
macOS Monterey (12) and earlier
- Open System Preferences:
- Click Security & Privacy:
- Click Privacy:

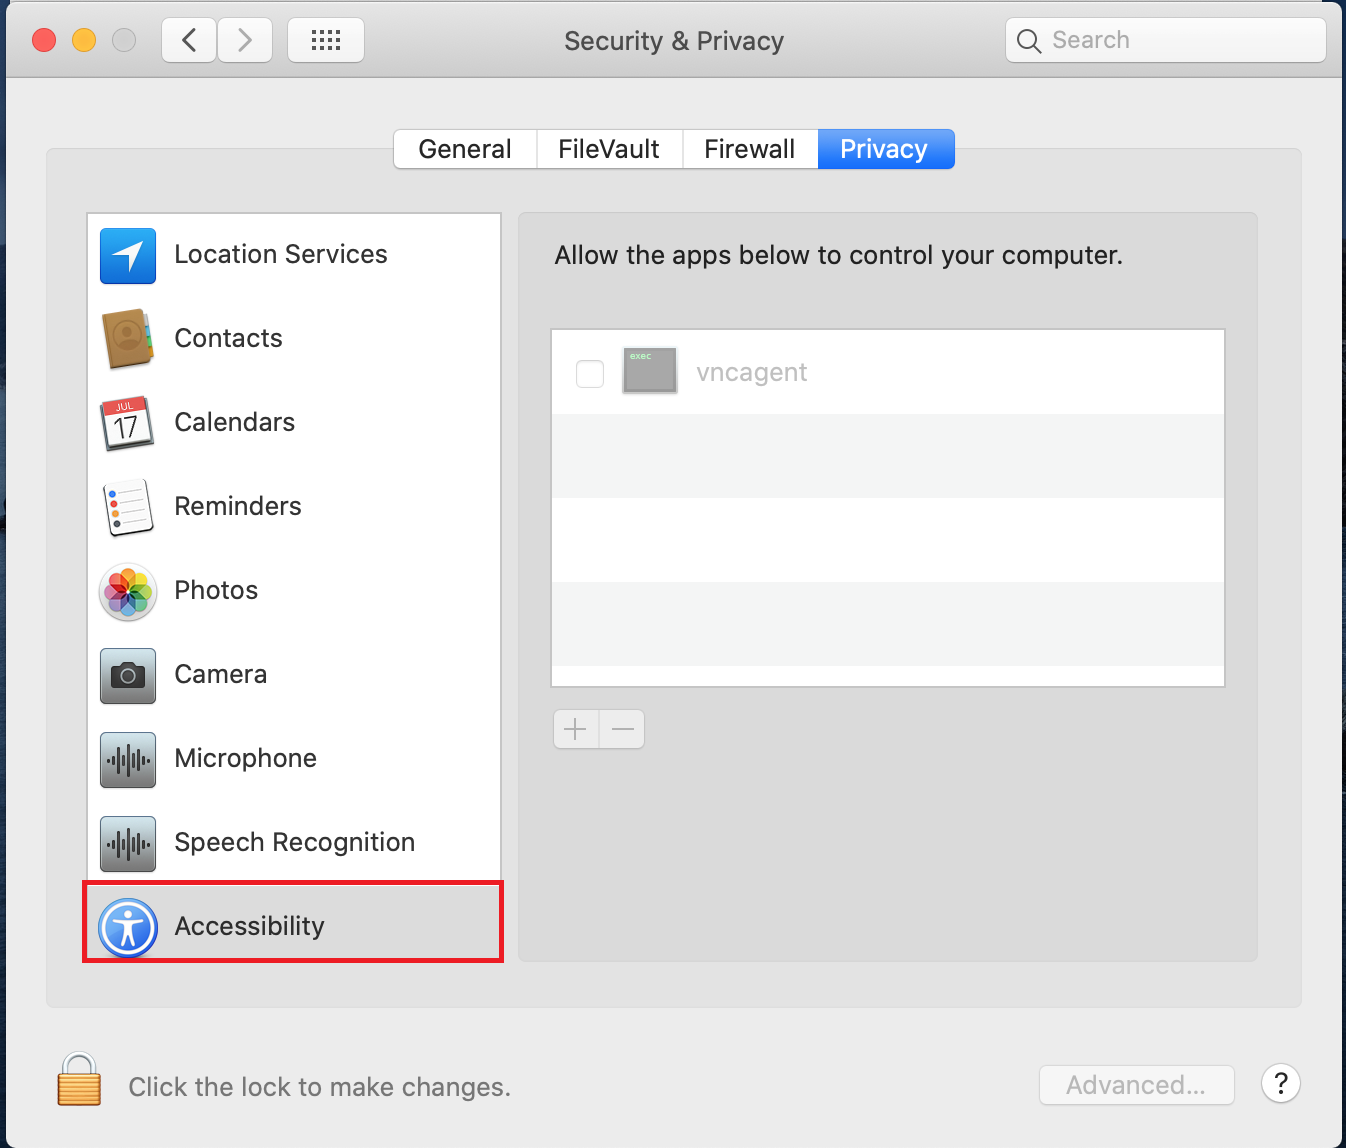
- Click Accessibility:
- Click the lock button to make changes, and then enter an administrator’s username and password:
- If vncagent is listed, place a check/tick next to it, and then click the lock icon again:

Skip Step 7. - Otherwise, click the + button:
then navigate to/Library/vnc/vncagentand select the Open button:
and then click the lock icon again.
On-Demand Assist
App is downloaded from the internet
You must specifically allow On-Demand Assist to be opened on install as it is downloaded from the internet.
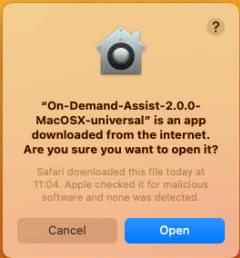
Click Open to allow the application to run.
App cannot be opened because Apple cannot check it for malicious software
The below message will appear if you are using a custom branded version of On-Demand Assist.
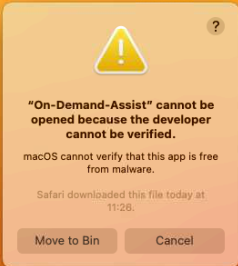
To launch a branded version of On-Demand Assist, you need to follow the below steps.
- Click Show in Finder:
- Locate the On-Demand Assist app you downloaded in the list of files:
- Right-click (or Control-click) the app icon, then click Open on the menu:
- Click Open:
- The app is saved as an exception to your security settings, and you can open it at any time by double-clicking it, just as you do with any registered app.
Screen Recording (fixes black screen)
macOS Ventura (13) and later
Your end users may see a prompt similar to the below when opening On-Demand Assist.

The end user will need to grant this permission so that you can view their screen.
- Open System Settings:
- Click Privacy & Security:
- Click Screen Recording:
- Click the lock button to make changes, and then enter an administrator’s username and password:
- If On-Demand Assist is listed, place a check/tick next to it, and then click the lock icon again:
Skip Step 6. - Otherwise, you will need to connect to the end user using On-Demand Assist from VNC Viewer. Once you have connected, On-Demand Assist will appear in the list. Once On-Demand Assist is listed, go back to Step 6.
macOS Monterey (12) and earlier
Your end users may see a prompt similar to the below when opening On-Demand Assist.

The end user will need to grant this permission so that you can view their screen.
- Open System Preferences:
- Click Security & Privacy:
- Click Privacy:
- Click Screen Recording:
- Click the lock button to make changes, and then enter an administrator’s username and password:
- If On-Demand Assist is listed, place a check/tick next to it, and then click the lock icon again:
Accessibility (fixes view-only)
macOS Ventura (13) and later
Your end users may see a prompt similar to the below when opening On-Demand Assist.
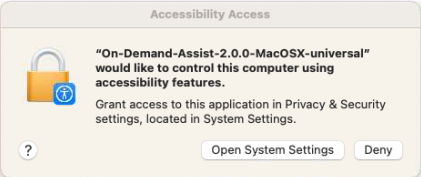
The end user will need to grant this permission so that you can control their screen.
- Open System Settings:
- Click Privacy & Security:
- Click Accessibility:
- Click the lock button to make changes, and then enter an administrator’s username and password:
- If On-Demand Assist is listed, place a check/tick next to it, and then click the lock icon again:
Skip Step 6. - Otherwise, click the + button:
then navigate to the location where the On-Demand Assist app was downloaded (typically Downloads) and select the Open button:
and then click the lock icon again.
macOS Monterey (12) and earlier
Your end users may see a prompt similar to the below when opening On-Demand Assist.

The end user will need to grant this permission so that you can control their screen.
- Open System Preferences:
- Click Security & Privacy:
- Click Privacy:
- Click Accessibility:
- Click the lock button to make changes, and then enter an administrator’s username and password:
- If On-Demand Assist is listed, place a check/tick next to it, and then click the lock icon again:
Skip Step 7. - Otherwise, click the + button:
then navigate to the location where the On-Demand Assist app was downloaded (typically Downloads) and select the Open button:
and then click the lock icon again.
